 Some days ago, a partner who works Trompe (see Pitcher and Pears) I wondered while having a coffee:
?How you think when you paint one of your paintings (Abstract)?
That question led me to a deep reflection and, accordingly, did this little article that guides one of the works I've done. Not all are formed with the same schema, but can serve as a technical guide for a first composition.
The subject of the painting, as the title, is the representation of an oak. When analyzing the composition, are three overlapping shapes that have defined, and which correspond to three points of view or perspectives of the subject.
 |
 |
 |
The first image is the one that allows you to observe the whole element, the second shows an element that groups relevant parties while the latter allows to appreciate a basic detail and characteristic that may identify itself. There are three points of view which together provide a comprehensive view of the item.
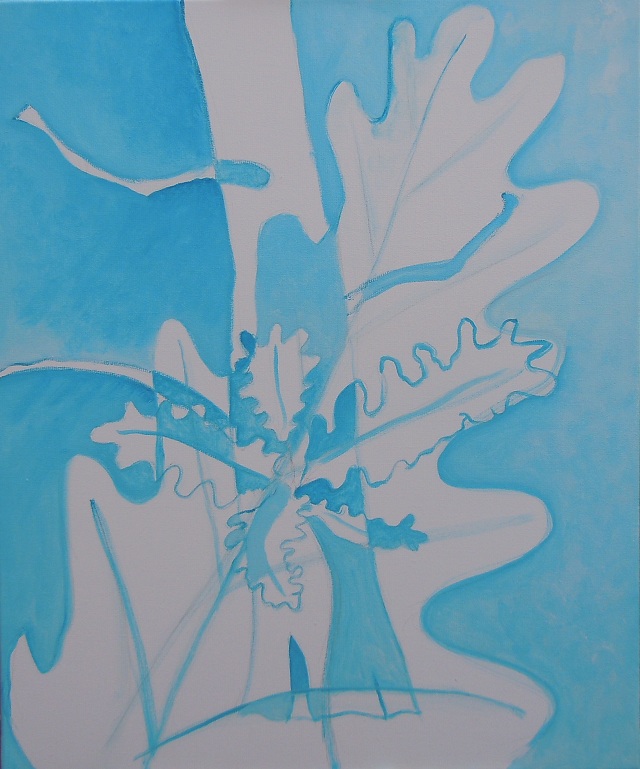
How do I start the box? Drawing with a single color composition with a first two of these elements: The tree trunk in the foreground overlay of oak leaf, in this case.
The color used is usually the base of the box, eg blue background plane serve, sky, allowing you to get the green and brown, by glazes, to be used for the rest of the picture.
Primary colors very clear that box too obscure.
A new plane with the other sheets, midplane, while differentiating be different overlapping areas by contrast to the primary color used. At this stage the composition concerned and differentiating between light and dark.
Gradually become darker areas, drawing with contrasting base color.
The next step will be introducing a first color will determine the final brightness of the picture. These colors will not be the final, although given the glazing technique that allows the material applied with brushes, bring a main component.
The color at this stage much turpentine applied with, so that it is a fine film and dries quickly to superimpose new shades.
Slowly fill the whole overview allowing us can suggest fixes applied colors or lines drawn.
The application of new glazes takes out the elements of the picture giving a sense of depth first. At this stage you should go selecting continuity plans so that the assembly can be reconstructed based on the color information.
The final colors are applied with little solvent to maintain maximum brightness and intensity. The continuity of the elements becomes more remarkable.
Some contour lines are reinforced, although this must be done at the end to avoid mixing the paint with the brush accidentally drag.
The final result is shown in the following two images. Colors may vary depending on the lighting of the picture. At night, turn off the colors, while on the day will be more vividly, highlighting especially the blues.
r


Must be connected to post a comment.